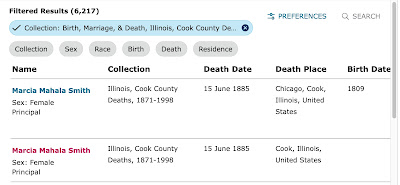
A Picasa tutorial is beyond the scope of a short blog post, but I thought it would be useful for me share a list of the features I find particularly helpful with some simple directions on how to use them.
ORGANIZING
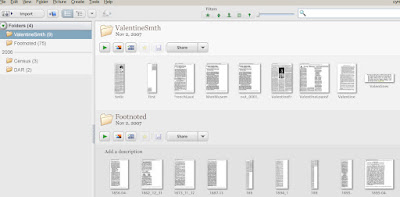
Select Images to Appear: You can decide which images appear in Picasa by selecting folders under "Tools" then "Folder Manager."
Organize Images: Move images from folder to folder by dragging and dropping. You can also rearrange images within a folder using the same approach.
Rename an Image: Click on an image to select it, then hit F2. Type the new image name in the pop-up box.
Rename Multiple Images: Select multiple images (holding down Ctrl lets you do that) and then hit F2. Type an image name and the selected images will be renamed in sequential order. For example, decree.jpg, decree1.jpg, decree2.jpg, etc.
TWEAKING
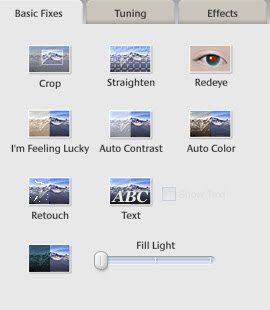
If you open Picasa and double-click on an image and you'll see three tabbed menus appear on the left: Basic Fixes, Tuning, and Effects. These menus are key.
Rotate an Image: Click "Straighten" under the "Basic Fixes" tab; use the sliding bar to rotate the image left or right, then click on "Apply."

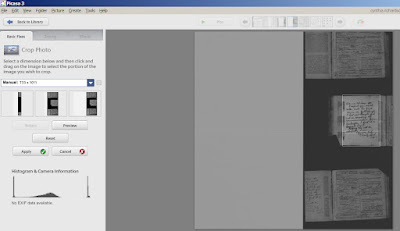
Crop an Image: Click "Crop" under the "Basic Fixes" tab; draw a box around the portion of the image you want to save and click "Apply" when done. If you're not happy with how the cropped image turned out, click "Recrop" and try again.

Tweak Brightness and Contrast Automatically: Click "Auto Contrast" under the "Basic Fixes" tab; if you're not happy with the result, just click "Undo Auto Contrast." If Auto Contrast doesn't work, click on the "Tuning" tab. Move the sliding bars to tweak the image.
SHARING
Print an Image: Click on the image(s) you want to print. Click on the "Print" icon at the bottom of the page. Use the resulting menu options to assure that the image will appear on the page the way you want it to.

Upload an Image to a Picasa Web Album: Web albums are a great way to keep, backup and share images. Click on the "Upload" button and follow the instructions. Images will be sent to a folder associated with your gmail address and once they're there you can rearrange them, add captions, and share links to individual images or a folder. It's a convenient way to back up the files and it's a nice way to make sure they're accessible from any place you have Internet access.


Emailing Images: The one thing that hasn't worked well for me is the email option. I find that the documents shrink somewhere along in the process and the resulting images may not be large enough to be read easily. (If anyone has a solution to that problem, please let me know.)
These are just a few ideas but I'd encourage you to explore the program to discover other useful features and if you discover one, please add a comment to this post.
